
7 Steps Weed Grow Guide Easily Grow Quality Cannabis
Here is the 7-step guide to learning how to easily grow quality cannabis from the comfort of your home.
So today I’m going to be giving you the quick basics of everything you need to know before you get your grow started so that you can have everything together to have a successful harvest your first time around. Now, this guide’s going to break everything up into really simple steps that you can follow one by one so that even if you have zero experience with growing cannabis, you can still have a very successful harvest your first time around.
Step 1: Selecting the location of your grow
Contents
The first step to that is going to be deciding whether are we doing an indoor grow or an outdoor grow. Now if you do decide to go outdoors, I really recommend going with the greenhouse because that’s going to be the best way to prevent any issues such as pests or mold from getting on the plant and messing up your yields. Now you’ll also want to have a place that is going to have a lot of direct sunlight for that growth. Because in a greenhouse, obviously you can have supplemental lighting hanging up in there by having grown lights in the tent, but you want to mainly be using that sun. So be sure to pick an area that is outside in direct sunlight for most of the day. If you don’t have that, then I would highly suggest and recommend growing indoors.
Now the other reason I really like indoors is I feel that you can get better quality results, and here’s actually a current growth I’m doing right now, a photoperiod growth. But I find it’s a lot easier to maintain actually your plants because you don’t have to counteract the weather and make sure that the conditions are always on a point inside the greenhouse. With an indoor tent that isn’t affected, because you’re inside the house. So the temperature is pretty constant. So you can pretty much just automate and set up everything, and really a hassle-free way of growing.
Outdoor is a really great way to grow, and it is very environmentally friendly. It’s just a little more challenging to get that top-quality product.
So that is step one on the guide, deciding whether you want to grow indoors or outdoors. Again, my recommendation is indoor because it is going to be easier. And a lot of people think, oh, outdoor in a greenhouse will be cheaper. And it is if you’re just going 100% natural. You know, no supplemental lighting or anything like that. But if you’re somewhere where you’re going to need fans or maybe a heater inside, it could get pretty costly trying to maintain ideal temperatures and conditions in that greenhouse. So that is the first thing to think about.
It could be done outside in the greenhouse if you could hide it along the side of your house or if you have a large property. But at night, especially if you’re using supplemental lighting, it’s going to be pretty obvious.
So this is the stealth grow. There are a few components to being stealthy with the growth. First off, having your grow hidden in a location that is low traffic and isn’t going to have a lot of people coming in and out. You don’t want to have it out in the open, obviously. So that’s why I suggest a closet or some sort of furniture that you can put inside. Obviously, it’s going to have to be a larger piece for that.
But one of the biggest components of being stealthy is about who you tell. So if you tell a bunch of your friends, family, stuff like that, it’s going to be a little easier for people to find out about it. Whereas if you just keep it a secret to yourself, it’ll be a lot easier to keep that a secret.
- So the first step, finding that location you can hide it in.
- The second step, keeping the smell under control as well as the noise. So you’re going to want to use appliances that are low-wattage and aren’t super loud or powerful so that you can’t hear them once the closet is all closed up.
- And then you’re also going to want to make sure that you have a carbon filter system set up in here so that you can keep that smell down.
- So that’s going to be the biggest thing or biggest indicator giving you away is if you have that smell of nice bud just billowing out of your tent, it’s going to be pretty obvious what’s going on. So step two of the official GreenBox Grown grow guide is how to keep your setup stealth if need be.
Step 3: All about selecting the genetics that you’re going to be growing with.
You’re going to want to decide first off, are you going to be doing a photoperiod grow or do you want to be doing autoflowers? Now, I always recommend for the first-time and beginner grower start off with autoflower. And I’m just going to head over to our seed banks page right here, so I can show you more details on that. But autoflowers definitely recommended for a beginner just because it takes less knowledge or effort, and it’s just a lot easier to maintain and get good results from.
Once you’ve selected whether or not to do that, you’re going to want to choose a strain. So I’m not saying photoperiods are impossible to grow, it’s just easier to do an autoflower. if you’re feeling up for the challenge, you could definitely try out your first time with a photoperiod. It is very doable. You just want to make sure you do your research first.
Now, next, you’re going to want to decide if are you going to be doing a high THC or high CBD strain. And you can choose either one. They’re both available when it comes to seed selections. I highly recommend checking out Grower’s Choice seeds if you are looking for some high CBD. But anyway, once you’ve done that, then all you’ve got to do is decide on your strain and you are good to go.
So for example, right now I’ve got a Limoncello Haze to grow going, and those seeds came from Amsterdam Marijuana Seeds, aka AMS. And that was through a mother plant and clone series. Those were Limoncello Haze, and then the other tents in the garage where I had were actually some seeds from NukeHeads, which I don’t have listed here, but that was the Grape Ape Skittles as well as Pineapple Chunk in there. That sums up step three of this grow guide. And again you want to select whether you’re doing an auto or photoperiod grow, high THC or high CBD. And then again, which strain do you want to grow?
Now a lot of these breeders do offer several variations of all the strains. So for example, if you want a high CBD Blue Dream strain, let’s say, they do have that, as well as high THC Blue Dream. And then of course you could get Blue Dream photoperiod as well as Blue Dream auto flower seeds. So lots of variations and options out there, you’ve just got to know which pages to look at. And then here again I have my recommended list of seed banks, all of which are really reputable and have great genetics.
Step 4: Selecting your supplies
And that’s why I had the other steps before this one because a lot of the supplies you’re going to need are going to change based on whether you’re doing an indoor or outdoor grow, as well as autoflower or photoperiod plants, as the pot sizes are going to change as well as other things that you’ll need. So I’ve got starter kits here that are all-inclusive and have everything you need from start to harvest, but let me just go over the quick basics of what you’ll need to really get your cannabis grows started. And again, these are the bare minimum. Now the Deluxe Series as well as the Mini Start Series do come with the kind of bare minimum setup.
But anyway, you’re going to need, of course, if you’re growing indoors, in your tent, or outdoors, you’re going to need your greenhouse. You’re going to want a grow light, of course, and I always recommend at least 600 watts per plant that you’re growing just so that you can get a full-sized, properly developed plant.
After that, you’re going to want to have a fan or two for good circulation, and then you’re going to need your pots as well as soil. Now for beginners, I really recommend the FoxFarm Ocean Forest soil because it’s very easy to work with, and then also since it’s soil, you’re not going to have to pH your nutrients or water feedings. So you won’t have to mess around with a pH pen or anything like that.
Now for nutrients, I recommend a basic trio such as the General Hydroponics or the FoxFarm Trio, even the Advanced Nutrients Trio is good. And then I always recommend on top of that a bottle of Cal-Mag.
So once you’ve got your pots, which by the way I would recommend starting with at least fabric pots because that’s going to be much better than plastic, especially when growing outdoors. Plastic pots outdoors don’t work too well because if they get direct sunlight, they heat up really well, or really hot, sorry, and can mess up that root zone. So you’ll need your tent, your pots, as well as a growing medium, which is the soil. You’ll want your nutrients and then the light as well as some fans for circulation. And that’s really the bare minimum basic supplies that you’ll need to get away with for one successful harvest.
Now for harvesting the plants, you’re going to want mason jars for the curing process, as well as the string for hanging them. And a trichome scope is really important for checking those trichomes so you know when they are ready for harvest. So just something to consider. And we do have several different starter kit setups available, ranging from different size grow setups to indoor versus outdoor. We do have greenhouse setups. And then you’ll see up here we’ve got some deep water culture setups as well. So definitely worth checking these out. A lot of fun, cool stuff here to help you get your cannabis grow started.
Step 5: Germination period
Now once you got that taproot that’s about a half-inch in length, like these ones here, you’re ready to transplant or plant the seed to get it growing. And in this stage, you’re going to support temperature to be around 75-77 degrees Fahrenheit. So it’s going to be a little warmer. And then of course humidity has got to be pretty high.
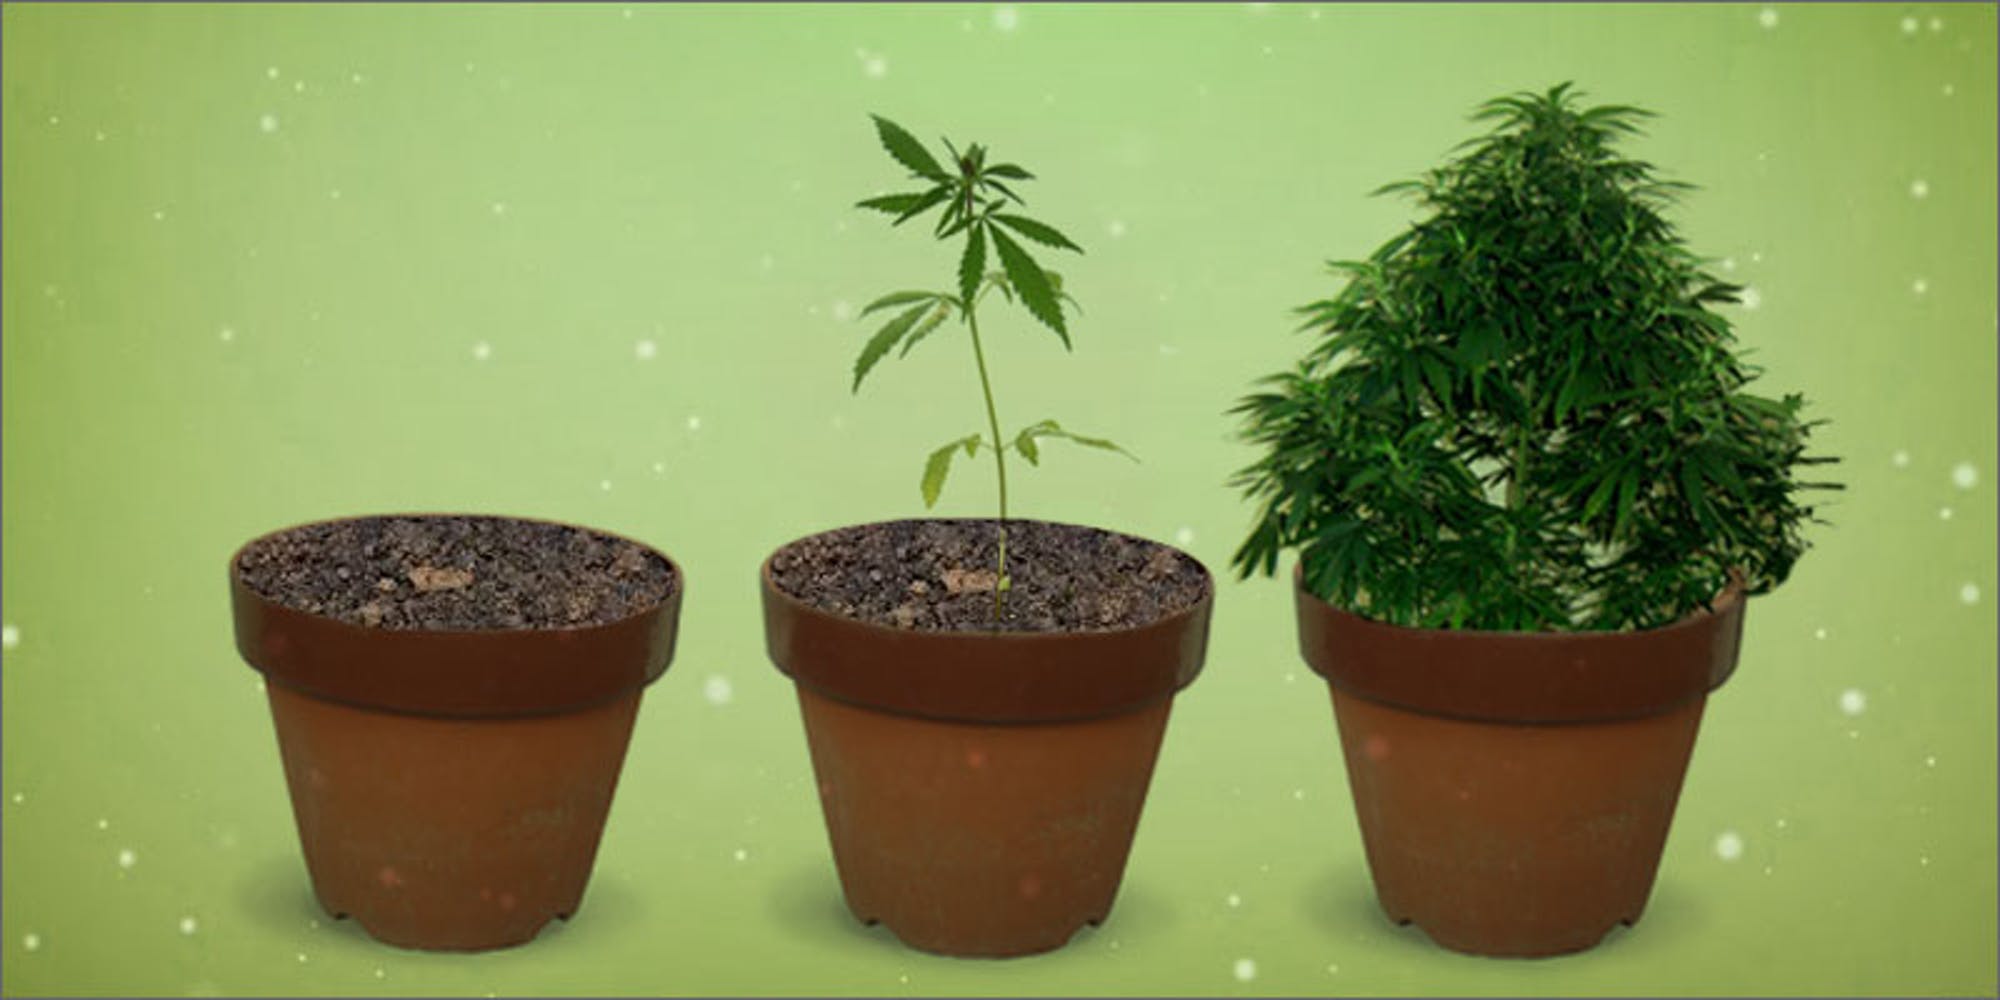
In the seedling stage, you’ll see once you have four to five nodes, they’ll be ready for their first nutrient feeding. It’s got to be a light one, of course. And then once they get about six nodes, that is when they’re going to be ready to be transplanted to their final pot. So I like to go from the Rapid Rooter or Rockwool Cube into a solo cup with soil. And then once you have roots coming out of the bottom of that solo cup, they’ll be ready for transplant into their final pot. These are two-gallon smart pots. And so once your seedling has about five or six nodes and is ready to be transplanted or is transplanted into that final pot, that is the beginning of the vegetation stage.
Step 6: Vegetation stage
So again, the temperature is going to be around 75 degrees Fahrenheit during this stage. And then humidity, once you’re at this point, is going to be around 65%. you don’t need to be as high as during the seedling stage, so it’ll come down a little bit.
So important stuff during this stage, you’re going to want to have the light a little bit closer than it was during the seedling stage now that your plants are further along and getting bigger. You also want to continue with the daily misting, and you’re going to want to be watering with nutrients about every fourth watering if you are growing in soil. And that’s really important just because you don’t want to burden the plants with too many nutrients.
Now the vegetation stage is also when all sorts of training happen. So for those of you who have heard already, there are topping, trimming, as well as low-stress training, high-stress training, and other techniques.
Now finally for the vegetation stage, and another key important part about it, is you want to do a lot of defoliation, especially if your growing photoperiod plants. And you’ll see that as they get larger, they start to grow really bushy with lots of fan leaves that will cover up lower bud sites as well as lower tops that could grow up through the canopy. But because those large fan leaves are covering them up, they are unable to do so. So defoliation helps a lot because you’re going to remove those leaves and open up the canopy to allow light to penetrate through, and so that those tops can grow up big and strong like the rest. And now again, it seems kind of counterproductive because you remove the leaves, but you’ll see, especially once you’re in the flowering stage, it’s actually going to help with increasing the size of those buds tremendously.
So now we’re back here for step seven of the grow guide and that is the flowering phase of this overall growth. So some important things. First off, this is when I like to stop the misting process. Some people do mist a few weeks in, but I stop immediately once the flower starts. And that’s just to prevent any issues with mold on the buds or any damage to the buds themselves.
Step 7: Conditions in your grow tent
As they flower they do prefer a somewhat different climate. So you’ll want to lower the temperature by a few degrees and humidity, most likely, you want to lower about 5 to 10%, as that’s going to help during the flowering process. And it’s going to help you guys get bigger yields because your plants are going to be much happier during that phase.
So that also brings me to my next point. So during the vegetation stage, there’s kind of some wiggle room and kind of some lenience with the plants and how you grow them in terms of if you damage them or if you stress them out a little bit during the vegetative stage. That is somewhat okay because you can always bring them back and let them recover. Because with photoperiod growth, the plants can grow as long as they want in vegetation as long as they have 18 hours of light each day.
So let’s say you stress the plant out with a little nutrient burn or too much light, you can give it some extra weeks just to recover. And then that way when you go into flower, they’re not stressed and you’ll continue to get good yields as well as good quality buds. But if you stress the plants out during the flowering phase, it’s a different story because you can’t really go back and reverse the damage that’s done to the buds. It’s kind of once they start, you can’t really revert any damage that’s done to them. So really important to keep everything, including the conditions, on point during this phase.
Now another thing people like to do, and they also use this during the vegetation stage, is increasing CO2 levels with either a CO2 system or you can use something like ExHale Bags that you just hang in the tent. So increasing those CO2 levels allows the plants to absorb more light and more energy from the lights so that they can grow bigger and larger buds.
So you’ll also notice that during the flowering stage you’ll need to change that lighting schedule from 18 hours on and 6 hours off to 12/12. And the reason being is if it is a photoperiod plant, it won’t flower until you flip them into that shorter period of light. Now the reason for this is out in nature the plants normally flower during the wintering month. So once the day starts getting shorter and there’s less and less light, that kind of triggers the flowering phase, therefore the reason to give them 12 hours of darkness, and 12 hours of light each day. Now with autoflowers, it’s a little bit of a different story, as they need 18 hours plus each day for the entire growth.

