
Drying, Curing Cannabis Plants Guide – Best Practices
In this article, we’re going to quickly go over how to dry and cure cannabis properly, cheaply, and easily.
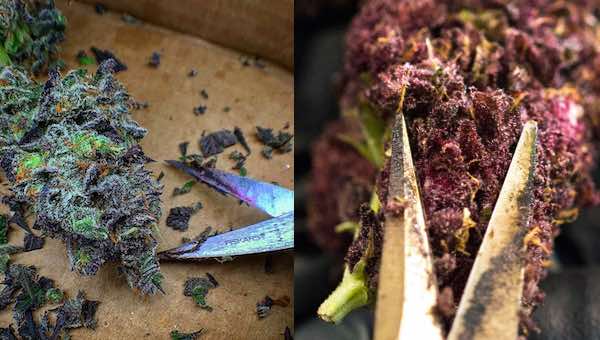
On harvest day, make sure you trim the fan leaves off your plants and trim other large loose leaves. Then cut off whole branches or even entire plants at the stem and hang them up by either wire or coat hangers, whatever you can find is fine. Some people like drying racks or trays, but I’m personally just a bigger fan of hanging to dry because you don’t have to flip buds to prevent flattening and it’s easy to do some followup trimming on the go that way.
Ideally, the drawing-room should be dark with humidity between 45 and 55%, and with good airflow and circulation to prevent any mold. This is why a lot of home growers who don’t grow big multi-stage operations just use their flowering area as their drawing area.
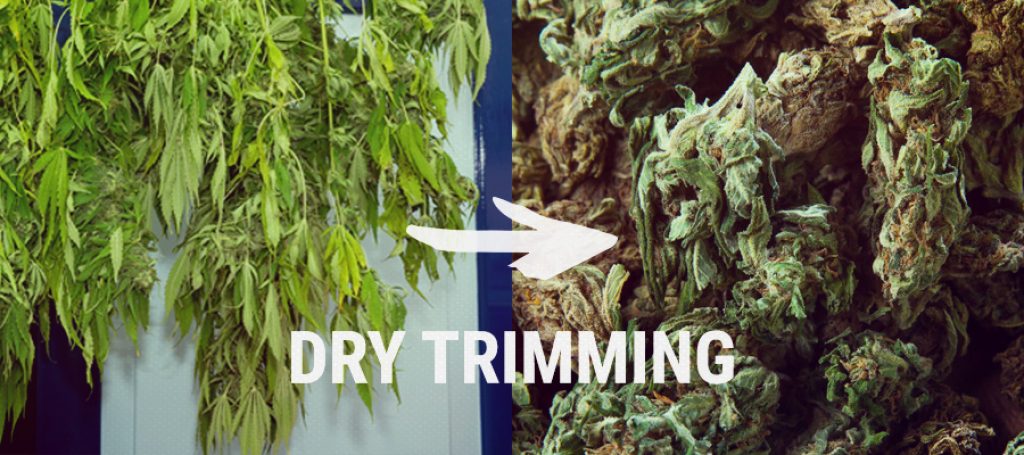
Since they already tend to be able to have those conditions under control in there with the lights off. Your cannabis will now hang there like that for about a week. Your plants will lose a lot of their moisture content in the first three days especially and will change in appearance greatly. Depending on conditions it could be anywhere from I’d say, five days to 12 days.
To complete the drawing, the higher your humidity, the closer you’ll be to that 12-day mark. You will know it’s time to move to the next step when the buds start to feel a little bit crunchy to the touch and when the small branches on the plants snap instead of folding when you try to bend them. Once that’s happening, it’s time for the final cure. Back in the prohibition days, a lot of people used to skip the cure and that’s too bad because that actually leads to a better tastier final product.
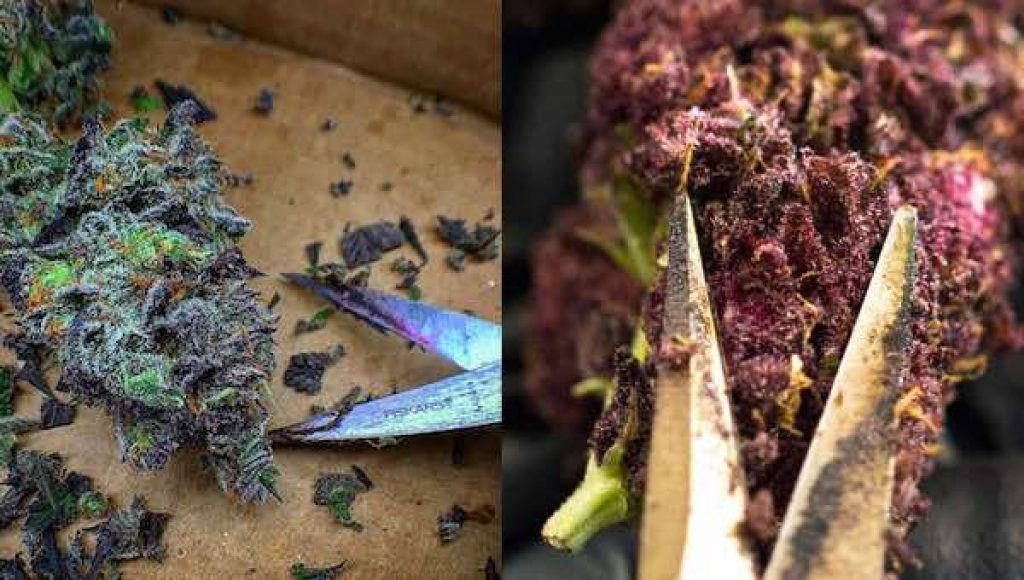
Do your full manicuring and bud trimming while the branches are still hanging. Then cut the buds off the branches and place them into jars. The most important aspect of your jars is that they have a wide mouth opening for your hands to get in. Jars should have quality lids and be made of a material like glass or clay. I’ll link to some suitable jars in the video description. Fill up the jars all the way, but don’t stuff cannabis in there. Make sure it’s just a little bit loose.
It’s actually still going to shrink quite a bit from here. For the first three to four days in the jars, you’re going to open up the lids for about 20 minutes at a time, twice per day. Especially those first days, you should notice that every time you open the jars and feel inside, the buds feel re-moisturized.
Then they dry off a bit again while the lid is off. This lid burping process, which is actually known as burbing, allows moisture to escape and replenishes the oxygen inside the container. If you start to smell a strange ammonia-like smell coming from the buds, you should be concerned because it means things are too wet in that jar and conditions are right for mold to happen. See my episode on a mold for more info. In this scenario, get the buds out of the jar and let them dry out in the open again.
If you don’t notice any moisture in the buds, you’ve probably over-dried them during the hanging. After three to four days you can go down to burping once per day. A lot of people will also occasionally turn over the buds inside the jars just to move them around. I’m not against doing that once or twice.
Keep burping daily for a couple of weeks and you’ve completed a rock-solid cure. Your cannabis should now have an ideal flavor, smell, and appearance. Additional storage in the jars without burping for six to eight weeks can take flavor and appearance to the next level. Unfortunately, people only tend to have so much patience for curing, especially for personal use, but it is what makes that extra bit of quality difference. Good luck!

