Tips to drying and curing process
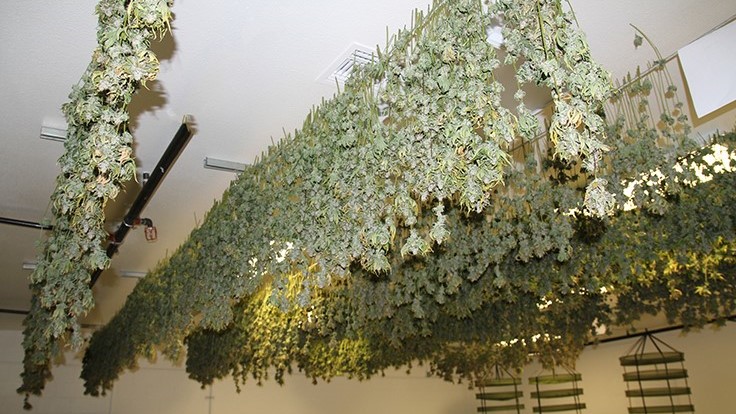
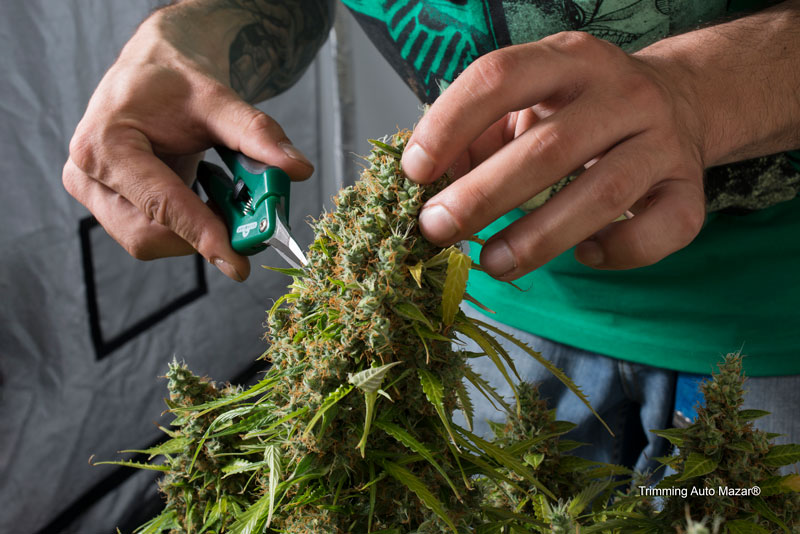
Once you’ve finished harvesting the product and it’s all trimmed up, you’re ready for the drying process. Now the drying and curing process is really important, so you don’t want to mess around with this, as it is about, I would say, 40 to 50% of the overall result in quality for your bud.
You’re going to hang the buds upside down by string or something gentle that’s not going to cut into the branches, and you want to make sure that they’re in a dark environment that is relatively cool and about medium humidity. So around 65% humidity, and around 70 degrees Fahrenheit, and completely dark is going to be a good environment for these buds to dry. And you don’t want to have a fan blowing directly on them or anything that’s going to speed the drying process up because that’ll actually lower the quality results.
So after about five to seven days, you’ll want to be testing the branches by bending them and if they snap and make it kind of a cracking sound, that’s how you’re going to know they’re ready to go into the jars for the curing process. If the branch just kind of folds over and doesn’t make a sound, then it is still too moist and it needs to be hung up again to continue drying before you put it in the jars to cure.
Now for those popcorn buds and smaller nugs that aren’t on big branches to be hung up, you can use a net for putting them on that, and that actually will drive them a little faster. So just be keeping an eye on that. It usually only takes about two to three days for them to dry on the dry rack that you hang up.
At this point you’re ready for the curing process, and start right after the plants are starting to snap on the branch from the drying process. So what you’re going to do is clip them off that main branch and then put them into a mason jar for curing. And I like to use humidity packs, the 62% eight gram ones are great for a quart size mason jar. And essentially those just maintain the ideal humidity and curing conditions in the jar so that the buds don’t dry out or get too moist.
While in the jars, you’re going to want to burp them for a little bit each day for the first couple of weeks. And then for longterm storage after that, all you really need to do is burp them once for about 10, 15 minutes a week and you’ll be good to go. It is a good idea to store them in a dark place, though, when you’re not using them. So be sure to put them in a closet or a dresser drawer or something like that. And also make sure it’s kind of a cool location, not too hot because of that will kind of degrade the buds over time.
The cleanup and prep for the next grow process.
So it’s really important that if you want to continue growing in that same space that you clean all of the tools and appliances you use, as well as the, grow tent. Just vacuum it up and wipe it down so that there aren’t any pests or dirty things left behind because that can actually cause problems with your next to grow if there is some sort of residue from something like a pest or a disease left behind.
So it’s a good thing to clean everything really thoroughly. And what’s really cool also is a lot of these supplies like the pots and such are going to be reusable. So if you take good care of them by cleaning them up after every grows, they’ll last a lot longer as well.


